DX Unit Installation and Repair: A Comprehensive Guide:
A DX (Direct Expansion) unit is a type of air conditioning system commonly used for both residential and commercial applications. Unlike chilled water systems, DX units cool the air by directly expanding refrigerant in the evaporator coil. These units are typically smaller, more energy-efficient, and easier to install compared to other HVAC systems. Proper installation and timely repairs are essential to maintaining a well-functioning DX unit. Here’s a comprehensive guide to DX unit installation and repair.
DX Unit Installation
The installation process for a DX unit requires careful planning and proper execution. Below are the key steps involved in installing a DX unit:
1. Preparation and Planning
Before starting, ensure that the DX unit is the correct size and type for the space or building:
- Sizing the Unit: The capacity of the DX unit should match the cooling needs of the area. A unit that’s too large or too small can lead to inefficiency and higher energy costs.
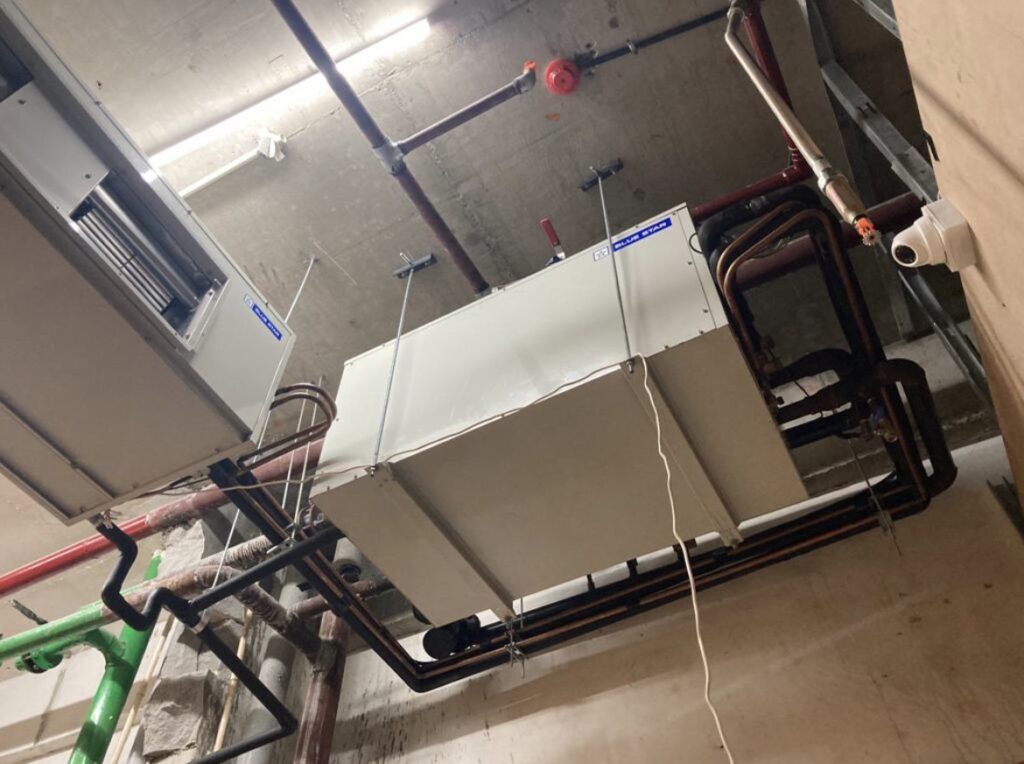
- Location: Choose an appropriate location for the unit. DX units are typically installed in a variety of locations such as rooftops, ground-level slabs, or in mechanical rooms. Ensure the site allows for proper airflow and provides adequate space for maintenance.
Materials Needed:
- The DX unit (indoor and outdoor sections, if split system)
- Refrigerant piping
- Ductwork materials
- Electrical cables and connectors
- Mounting platforms (for outdoor units)
- Insulation materials
- Fasteners and tape
2. Set Up the Installation Location
- Ensure Stability: Make sure the foundation or platform is level and sturdy enough to support the weight of the unit.
- Proper Drainage: Ensure the location allows for proper condensate drainage. Consider installing a condensate pump if the unit is located in an area where gravity drainage is not possible.
3. Position the DX Unit
- Lift and Position the Unit: Depending on the size, you may need equipment like a crane to lift and position the unit. Position the unit where it can achieve maximum airflow, especially for the outdoor condenser.
- Secure the Unit: Make sure that the unit is securely placed on the platform or slab and is level to avoid operational issues.
4. Connect the Refrigerant Lines
- Install Refrigerant Piping: Connect the refrigerant lines from the indoor evaporator to the outdoor condenser. Properly insulate these lines to prevent energy loss and condensation.
- Soldering the Lines: The refrigerant lines must be securely soldered to prevent leaks. Use the correct technique and tools to ensure a tight seal.
5. Electrical Connections
- Power Supply: Connect the unit to a dedicated electrical circuit that meets the unit’s specifications. Always ensure that the unit is wired by a licensed electrician to avoid electrical hazards.
- Wiring: Connect the thermostat or control system to the DX unit. Ensure proper wiring as per the manufacturer’s guidelines to prevent malfunctions.
6. Install the Ductwork (if applicable)
- Connect the Ducts: For split DX units, connect the ducts to the evaporator section. Make sure that the ducts are properly sealed to prevent air leaks.
- Insulate Ducts: Insulate the ducts in unconditioned spaces like attics to avoid energy loss.
7. Test the System
- Leak Check: After all connections are made, perform a leak test to ensure no refrigerant is escaping from the system.
- System Check: Turn on the unit and check the system’s cooling and heating functions. Monitor the airflow and ensure that the unit is operating as expected.
- Electrical System Test: Check the electrical components and wiring to ensure they are functioning properly.